AC Won’t Turn On in Dallas? 10 Things to Check Before Calling for Repair
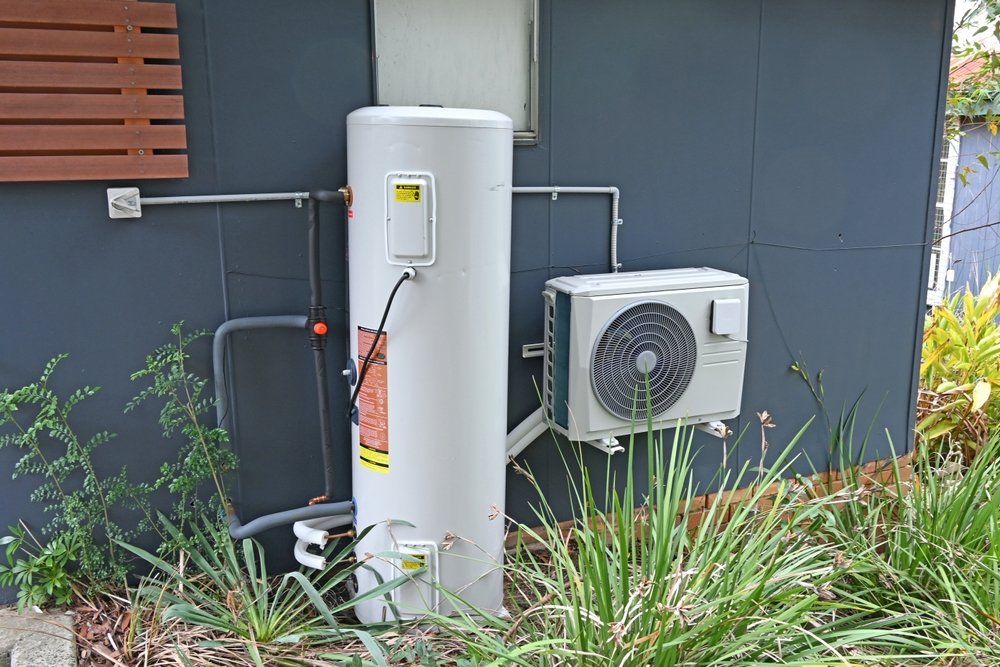
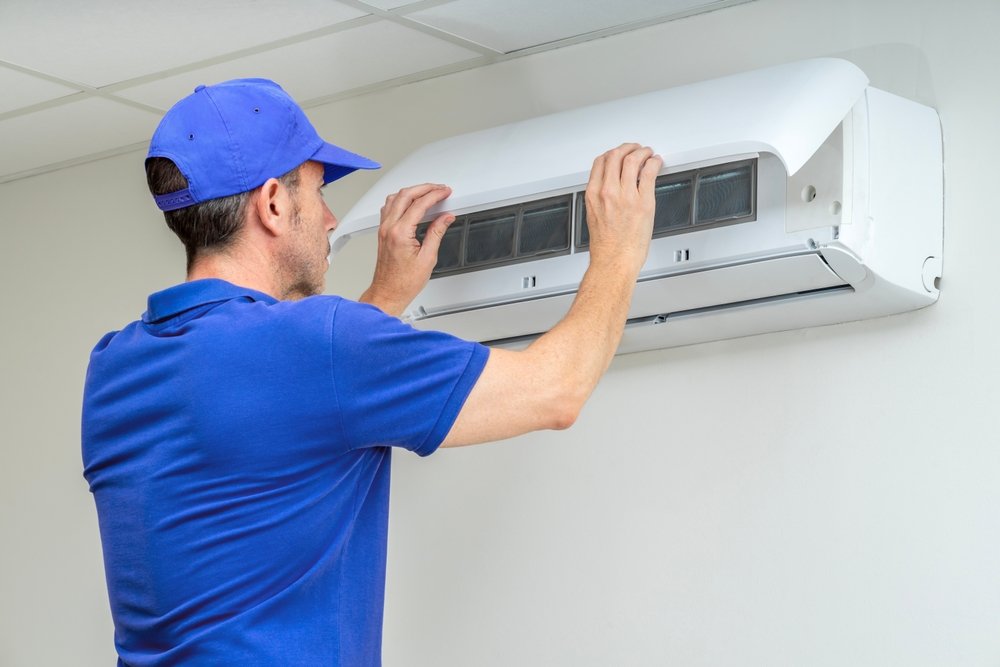
AC Won’t Turn On in Dallas? 10 Things to Check Before Calling for Repair When your AC won’t turn on during a hot Dallas day, it can quickly become uncomfortable. Before you assume you need an expensive repair, there are several simple things you can check yourself. Sometimes the problem is as easy as a thermostat setting, tripped breaker, dirty filter, or power issue. If your air conditioner won’t turn on, work through these 10 checks before calling an HVAC professional. If none of them solves the problem, Chrome Air Conditioning can help diagnose and repair the issue. 1. Check Your Thermostat The thermostat is one of the first places to look when your AC is not turning on. Make sure the thermostat is set to Cool and that the temperature is set lower than the current room temperature. If the thermostat uses batteries, replace them if the display is blank or appears weak. A faulty thermostat can also prevent your system from receiving the signal to start. If your AC thermostat is not working, professional troubleshooting may be necessary. 2. Check the Circuit Breaker If your AC won’t turn on but has power, check your home’s electrical panel. Look for a breaker labeled AC, HVAC, or air conditioner. A breaker can trip because of an electrical overload or another issue. You can check whether it has moved to the middle or OFF position. If appropriate, reset it once by switching it fully OFF and then ON. If the breaker immediately trips again, don’t keep resetting it. Repeatedly tripping breakers can indicate an electrical or HVAC problem that requires professional attention. 3. Look at the Outdoor AC Unit Sometimes the indoor system appears normal while the outdoor condenser isn’t operating. If the outside AC unit is not turning on, check whether you hear any unusual sounds or notice anything unusual around the unit. Don’t remove electrical panels or attempt to repair internal components yourself. A problem with the capacitor, contactor, wiring, or other components could prevent the outdoor unit from starting. 4. Check the AC Disconnect Your outdoor unit normally has a disconnect near it that allows technicians to safely shut off electrical power during maintenance. If the disconnect has been switched off accidentally, your system may not run. Check only what you can safely access without opening electrical components. If you’re unsure whether the disconnect is properly engaged, leave it alone and contact a professional. 5. Check for a Clogged Air Filter A severely dirty filter can restrict airflow and contribute to HVAC problems. If your AC is not working in your house, inspect the filter. If it’s visibly dirty, replace it with the correct size and type recommended for your system. Regular filter replacement can improve airflow and help your air conditioner operate more efficiently. However, a new filter won’t fix every reason an AC stops working. 6. Make Sure the Condensate Drain Isn’t Blocked Your air conditioner removes moisture from the air as it cools your home. That moisture drains through a condensate line. If the drain becomes clogged, some systems have a safety switch that shuts the AC down to prevent water damage. If you notice standing water near the indoor unit, repeated shutdowns, or moisture around the system, professional inspection is recommended. 7. Check Your Indoor Unit If you’re wondering why is my AC not turning on, check whether your indoor air handler or furnace is receiving power. Look for obvious signs such as a completely blank thermostat, no airflow, or a system that makes no sound when cooling is requested. Don’t open electrical panels or attempt to work on wiring. HVAC equipment contains electrical components that can be dangerous. 8. Check for Signs of a Power Problem If your AC is not getting power, the issue may involve the breaker, disconnect, wiring, thermostat, or another electrical component. Check other appliances or lights in your home to determine whether there is a broader electrical outage. If only the AC appears affected, an HVAC technician can safely test the electrical components and determine where power is being interrupted. 9. Consider Whether the AC Stopped Working Suddenly If your AC stopped working suddenly, think about what happened immediately before the shutdown. Did you notice unusual noises? Was the system short cycling? Did you smell something unusual? Was the breaker tripping? Did the system struggle to cool your home beforehand? These details can help a technician identify the cause more quickly. If you’re experiencing AC not working in Dallas TX, don’t ignore repeated warning signs. A system that suddenly stops may have a failed electrical or mechanical component. 10. Check Whether Your AC Is Simply Overheating Dallas summers can put significant demand on an air conditioning system. During periods of extreme heat, an aging or poorly maintained system may struggle to keep up. If the system has been running for unusually long periods, shutting down repeatedly, or producing unusual noises, allow it to rest and check the basic items above. If the problem continues, professional diagnosis is the safest next step. When Should You Call an AC Repair Professional? Basic troubleshooting can sometimes solve simple problems, but certain situations require professional help. Call an HVAC technician if: The breaker keeps tripping. The outdoor unit won’t start. The thermostat doesn’t respond. Your AC repeatedly shuts down. You notice burning smells or unusual electrical sounds. Water is leaking around the indoor unit. The system still won’t start after basic checks. Searching for AC repair Dallas TX or air conditioning repair Dallas can help you find local professionals who can diagnose the problem properly. For urgent cooling problems, homeowners may also search for emergency AC repair Dallas TX, especially when the system stops working during extreme Texas heat. Why Professional AC Diagnosis Matters An air conditioner that won’t start can have many possible causes, ranging from a simple thermostat issue to an electrical or mechanical failure. Trying to replace electrical components without the proper training can create safety risks and