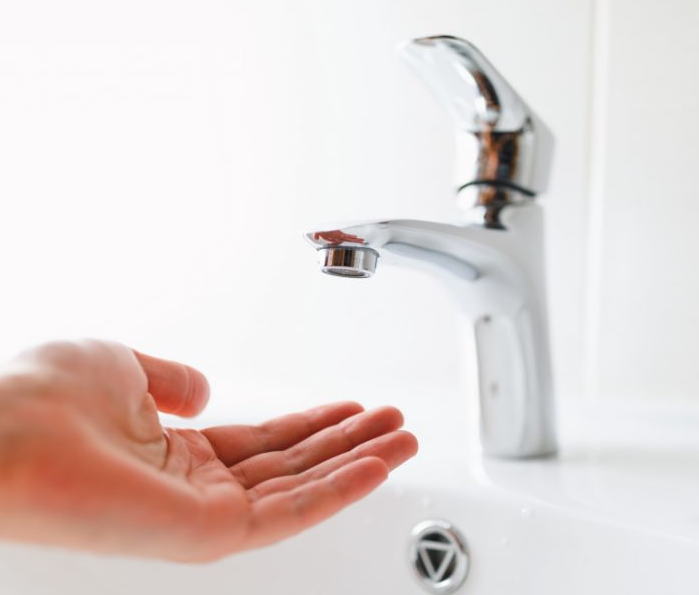
Troubleshooting Water Heater Issues: Common Problems and Fixes for No Hot Water
1. Check the Power Supply or Fuel Source Before delving into deeper issues, always start with the basics. If you have an electric water heater, check that the power supply is working. Often, circuit breakers can trip, cutting off power to the heater. Go to your breaker box, find the breaker for the water heater, and ensure it hasn’t tripped. For gas water heaters, verify that the gas valve is open and that you have a steady supply of gas to the unit. Fix: If the circuit breaker is off, switch it back on. If it continues to trip, this could be a sign of an electrical problem within the water heater or your electrical panel, which will need a professional inspection. For gas water heaters, if the gas supply is cut off or interrupted, you’ll need to contact your gas provider. 2. Look for Sediment Buildup Sediment buildup is one of the most common culprits of reduced water heating performance, especially if you live in an area with hard water. Over time, minerals like calcium and magnesium in hard water settle at the bottom of the tank, creating a layer that insulates the water from the heating element. This prevents the heater from effectively heating the water, causing lukewarm or even cold water to flow through your taps. Fix: To fix sediment buildup, drain and flush the tank. Start by turning off the heater’s power supply and water inlet, then attach a hose to the tank’s drain valve. Let the water fully drain, then briefly turn on the cold water supply to flush out any remaining sediment. If you’re comfortable with maintenance tasks, you can do this on your own; otherwise, call a professional to ensure the tank is properly flushed and cleaned. 3. Test the Thermostat The thermostat is a crucial component of your water heater, as it regulates the temperature. If it’s set too low, your water won’t get hot enough. On the other hand, a faulty thermostat might not read temperatures correctly, causing lukewarm or cold water. Most water heaters have two thermostats, one for the upper heating element and one for the lower. If either one fails, it can cause inconsistent water temperatures. Fix: First, check the thermostat setting and ensure it’s at a temperature high enough for your needs, typically around 120°F to 140°F. If the thermostat is already set correctly, test it by using a multimeter. If you find that the thermostat isn’t registering correctly, replace it with a compatible part for your model. This is a straightforward task but can require some technical skills, so consult a professional if you’re uncertain. 4. Inspect the Heating Element Electric water heaters rely on one or more heating elements to heat water, while gas models use a burner. Heating elements can burn out over time, especially if there’s sediment buildup or they’ve been in constant use. If one of these elements is damaged, it can result in only partially heated water or no hot water at all. Fix: To inspect the heating element, shut off power to the heater, drain the tank, and remove the element. Use a multimeter to test the element for continuity. If it shows an open circuit, the element is broken and needs replacement. Install a new heating element compatible with your water heater model. This is a bit more involved, so calling a professional is advisable if you don’t feel comfortable with the process. 5. Pilot Light or Ignition Problems in Gas Heaters Gas water heaters rely on a pilot light or an electronic ignition system to ignite the burner. If the pilot light goes out or the ignition system fails, the burner won’t heat the water. The pilot light may go out due to a draft, a dirty burner, or a faulty thermocouple. Fix: For heaters with a pilot light, follow the manufacturer’s instructions to relight it. If it doesn’t stay lit, check the thermocouple. This is a small metal rod near the pilot light that senses whether the flame is on. If it’s defective, the pilot light won’t stay lit, and the thermocouple will need replacement. In newer water heaters with electronic ignition, if the ignition system fails, you’ll likely need a professional technician to diagnose and repair the issue. 6. Faulty Dip Tube The dip tube directs incoming cold water to the bottom of the tank, allowing the heating elements or burner to effectively heat the water. If the dip tube is broken or damaged, cold water will mix with the hot water at the top of the tank, resulting in lukewarm or cold water from your faucets. Fix: You’ll need to inspect the dip tube by removing the cold water inlet and examining the tube for cracks or breakage. If it’s damaged, replace it with a new dip tube compatible with your water heater model. If this feels out of your comfort zone, consider contacting a technician for a proper replacement. 7. Tank Size and Usage Sometimes, the issue isn’t mechanical but rather due to a mismatch between your water heater’s capacity and your household’s hot water demands. If you frequently run out of hot water during peak usage times, it could mean that your tank is too small to meet the needs of your home. Fix: Consider upgrading to a larger tank if you consistently find yourself short of hot water. Another option is a tankless water heater, which heats water on demand and can provide a continuous supply. Assessing your household’s needs can help you decide whether an upgrade is worthwhile. 8. Water Heater Age Most water heaters have a lifespan of about 8-12 years. Older units are more prone to issues like sediment buildup, worn heating elements, and failing thermostats. If your water heater is nearing or has surpassed this age range, it may be more cost-effective to replace it rather than continuously repair it. Fix: If your water heater is older, consider replacement as a long-term solution. Newer models are not