How to Fix Low Water Pressure in the Bathroom
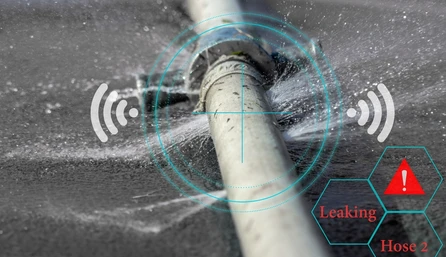
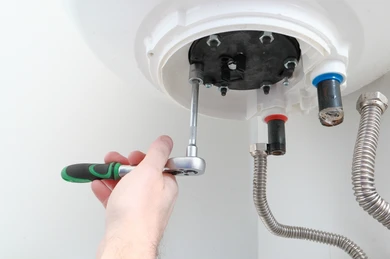
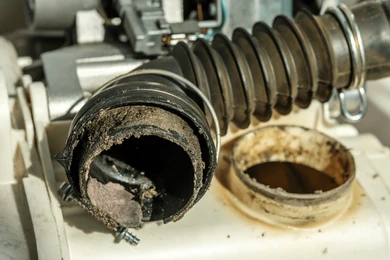
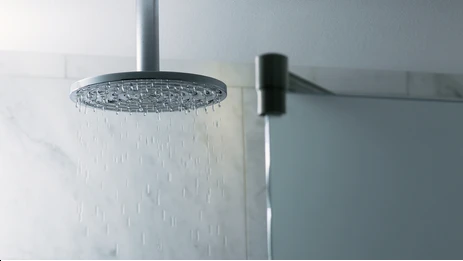
Experiencing low water pressure in the bathroom can be incredibly frustrating, especially when it turns a relaxing shower into a dribble. Fortunately, fixing low water pressure doesn’t always require calling a professional plumber. With a little troubleshooting, you can identify the cause and restore the pressure to its optimal level. This comprehensive guide will walk you through the common causes of low water pressure in the bathroom and how to fix them. 1. Check for Clogged Aerators and Showerheads One of the most common reasons for low water pressure in bathroom faucets and showerheads is a clogged aerator or showerhead. Over time, mineral deposits, especially in areas with hard water, can build up and block the flow of water. Steps to Fix: Turn off the water supply. Before removing any faucet or showerhead, make sure the water is turned off to avoid flooding your bathroom. Unscrew the faucet aerator or showerhead. Use a wrench or pliers if it’s tight. Inspect for mineral deposits. You’ll likely see white or greenish buildup in the screen or the nozzle. Soak in vinegar. To remove the deposits, soak the aerator or showerhead in white vinegar for about an hour. Vinegar naturally dissolves mineral buildup. Scrub gently. After soaking, use an old toothbrush to scrub away any remaining debris. Reassemble and test. Reattach the aerator or showerhead and turn the water back on to see if the pressure improves. 2. Check for Water Leaks A hidden water leak could be reducing the water pressure in your bathroom. Leaks divert water from where it’s needed, causing a noticeable drop in pressure. Look for damp spots on walls, ceilings, or under the sink, which could indicate a leak. Steps to Fix: Inspect visible pipes. Check under sinks, behind the toilet, and in the shower for signs of leaks. If you find a small leak, you can often fix it by tightening the connections or replacing washers. Check for hidden leaks. If no visible leak is found, the issue may be behind the walls or in the floor. Listen for dripping sounds or check your water meter. If the meter shows water usage even when all faucets are off, you may have a leak. Call a plumber for major leaks. If the leak is significant or hidden behind walls, it’s best to call a professional to avoid further damage. 3. Ensure the Shut-off Valve is Fully Open Sometimes, low water pressure is due to a partially closed shut-off valve. This valve controls the flow of water into your bathroom and should be fully open to allow maximum water flow. Steps to Fix: Locate the shut-off valve. It’s typically under the sink or behind the toilet. Turn the valve counterclockwise. Ensure the valve is turned all the way open to allow full water flow. Test the water pressure. Turn on the faucet or shower to see if the pressure has improved. 4. Inspect the Pressure Reducing Valve (PRV) If the whole house is experiencing low water pressure, including the bathroom, the issue might be with the pressure reducing valve (PRV). This valve regulates the water pressure coming into your home from the main supply line. Over time, the PRV can wear out or become misadjusted, leading to lower water pressure. Steps to Fix: Locate the PRV. It’s usually installed where the main water line enters your home. Adjust the PRV. Using a wrench, turn the screw on the top of the valve clockwise to increase the water pressure. Be cautious not to increase it too much, as excessive pressure can damage your plumbing. Test the water pressure. After adjusting, check the water pressure in your bathroom to see if it has improved. Replace the PRV if necessary. If adjusting doesn’t help, the valve may need to be replaced. This is usually a job for a plumber. 5. Check for Problems with the Water Heater If the low water pressure is only affecting the hot water, the problem could be with your water heater. Sediment can build up in the tank, reducing water flow and pressure. Additionally, if the water heater’s shut-off valve is not fully open, it could be restricting water flow. Steps to Fix: Flush the water heater. Sediment buildup can reduce pressure. To fix this, turn off the water heater and drain the tank to remove sediment. Refer to your water heater’s manual for instructions on how to safely do this. Check the shut-off valve. Ensure the valve that controls water flow to the heater is fully open. Test the hot water. Once the heater is flushed and the valve is open, check if the pressure has improved. 6. Inspect and Clean the Pipes Over time, pipes can become clogged with mineral deposits or debris, which can reduce water pressure. This is especially common in older homes with galvanized pipes. In some cases, the buildup inside the pipes may restrict water flow. Steps to Fix: Clean accessible pipes. If you suspect a clog in a specific pipe, you can try cleaning it using a plumbing snake. However, most clogs inside pipes require professional cleaning or pipe replacement. Replace old pipes. If your home has old galvanized pipes, they may need to be replaced with modern piping materials like copper or PEX. This is a larger project that should be done by a plumber. 7. Install a Water Pressure Booster Pump If your bathroom is located far from the main water supply or on the second floor, you may experience lower water pressure due to the distance or height. In this case, installing a water pressure booster pump can help increase the pressure. Steps to Fix: Install the booster pump. A water pressure booster pump increases the pressure coming into your home from the main water line. It’s installed on the main water supply line, and it automatically boosts pressure to all fixtures in your home. Test the water pressure. After installation, check if the water pressure in your bathroom has improved. 8. Check for Municipal Water