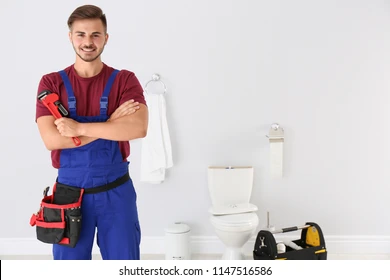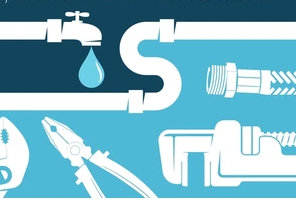
The Easiest Way to Repair a Leaking Toilet
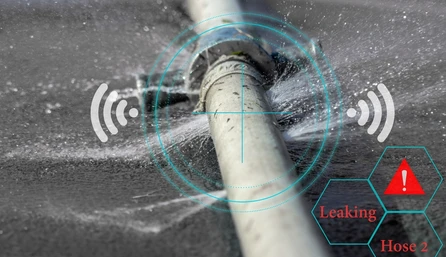
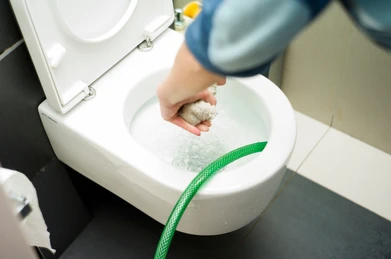
A leaking toilet is not only a nuisance, but it can also lead to increased water bills and potential damage to your bathroom floor. While calling a plumber may seem like the easiest solution, fixing a leaking toilet is something most homeowners can handle with minimal tools and effort. This guide will walk you through the simplest steps to repair a leaking toilet, saving you both time and money. Understanding the Source of the Leak Before diving into the repair, it’s important to identify where the leak is coming from. Toilets can leak from various areas, and pinpointing the source will help you determine the right fix. The most common causes of leaks are: Leaking from the base: If you notice water pooling around the base of your toilet, this often indicates a problem with the wax seal or the toilet bolts. Leaking from the tank to the bowl: Water constantly running from the tank into the bowl usually points to an issue with the flapper or fill valve. Leaking from the supply line: If the leak is coming from the water supply line connecting to the tank, it could be due to a loose or worn-out connection. Now that you understand where the leak might be coming from, let’s explore the easiest ways to repair each of these common problems. Tools You’ll Need Before starting the repair, gather the necessary tools and materials. Most toilet leaks can be fixed with basic tools that you likely already have around the house: Adjustable wrench Flathead screwdriver New toilet flapper (if applicable) Wax ring (if applicable) Plumber’s putty or caulk Towels for cleanup Once you have these tools ready, you can begin your repair process. Fixing a Leak from the Base If you notice water seeping out from the base of the toilet, the issue is likely a faulty wax ring seal or loose bolts. Here’s how to fix it: Step 1: Turn off the water supply Before doing any work, turn off the water supply to the toilet by closing the valve behind the toilet. Then, flush the toilet to drain as much water from the tank and bowl as possible. Step 2: Remove the toilet Use an adjustable wrench to remove the nuts from the bolts holding the toilet to the floor. Carefully lift the toilet and place it to the side on a towel. Step 3: Replace the wax ring The wax ring is located on the floor, around the toilet flange. Scrape off the old wax ring using a flathead screwdriver or putty knife, and then replace it with a new wax ring. Make sure the new ring is properly centered on the flange. Step 4: Reinstall the toilet Lower the toilet back onto the bolts, ensuring it’s properly aligned. Tighten the nuts to secure the toilet to the floor, but be careful not to overtighten, as this could crack the porcelain. Step 5: Turn on the water and test Reconnect the water supply and turn the valve back on. Flush the toilet a few times to ensure there are no more leaks around the base. Fixing a Leak from the Tank to the Bowl If your toilet is leaking water from the tank into the bowl, the problem is likely with the flapper or fill valve. These components are easy and inexpensive to replace. Step 1: Turn off the water supply and drain the tank Turn off the water supply and flush the toilet to empty the tank. Use a towel or sponge to soak up any remaining water in the tank. Step 2: Inspect the flapper The flapper is a rubber piece at the bottom of the tank that controls water flow into the bowl. Over time, flappers can become warped or brittle, causing leaks. To fix this, remove the old flapper by disconnecting it from the flush chain and the mounting posts. Step 3: Install a new flapper Take your new flapper and attach it to the flush chain and mounting posts. Ensure it sits securely over the flush valve seat. Step 4: Adjust the fill valve (if necessary) If water is leaking into the bowl due to an overfilled tank, you may also need to adjust the fill valve. The fill valve controls how much water fills the tank. Most modern fill valves can be adjusted by turning a screw or sliding a clip along the float. Step 5: Turn on the water and test Once the new flapper is in place, turn the water supply back on and test the toilet by flushing it. If the water stops running after the tank refills, the leak should be fixed. Fixing a Leak from the Water Supply Line Leaks from the water supply line are often caused by loose connections or worn-out washers. Here’s how to fix this type of leak: Step 1: Check the supply line connection Tighten the nut where the supply line connects to the toilet tank using an adjustable wrench. Be careful not to overtighten, as this can damage the components. Step 2: Replace washers or the supply line (if needed) If tightening the connection doesn’t stop the leak, you may need to replace the washers inside the supply line or the entire supply line itself. Supply lines are inexpensive and easy to replace—simply unscrew the old line and attach a new one in its place. Step 3: Turn on the water and test After making the necessary adjustments or replacements, turn the water back on and check for leaks. If the connection is tight and there are no drips, your repair is complete. Preventing Future Toilet Leaks Now that you’ve successfully repaired your leaking toilet, it’s a good idea to take some preventive measures to avoid future problems. Here are a few tips: Inspect your toilet regularly: Check the toilet for any signs of leaks or damage on a regular basis, especially around the base, tank, and supply line. Replace parts as needed: Components like flappers, fill valves, and